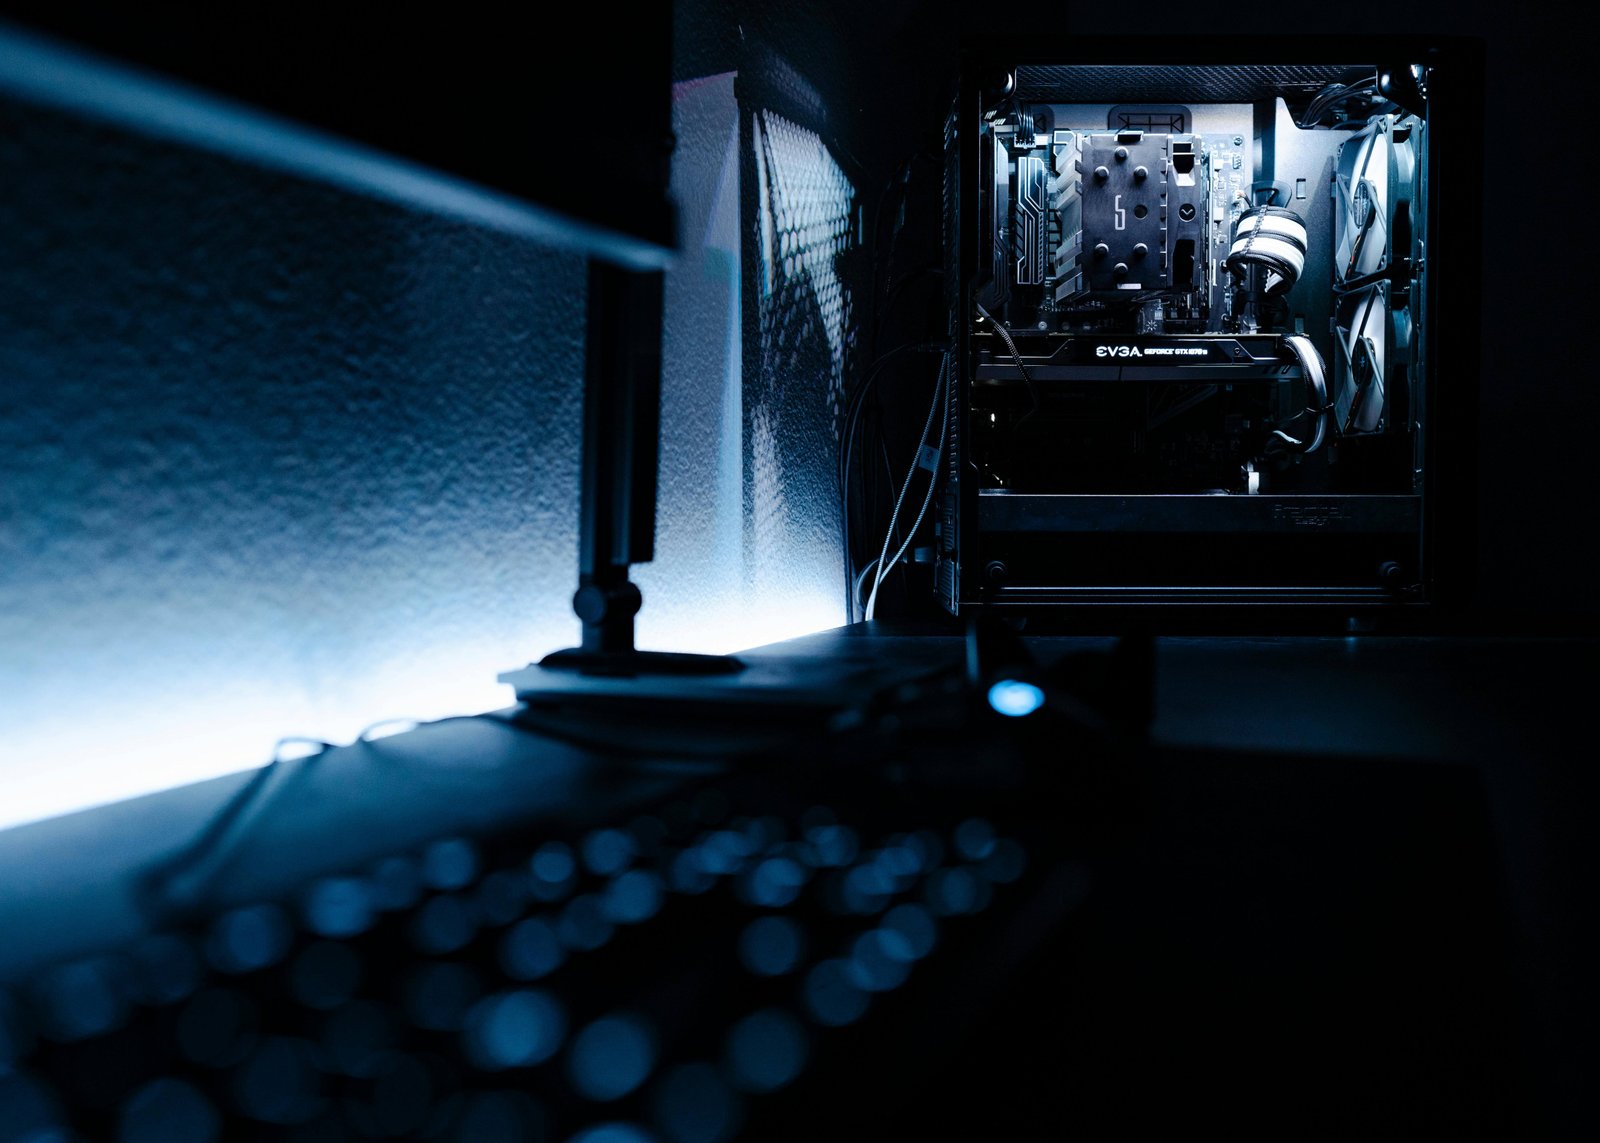
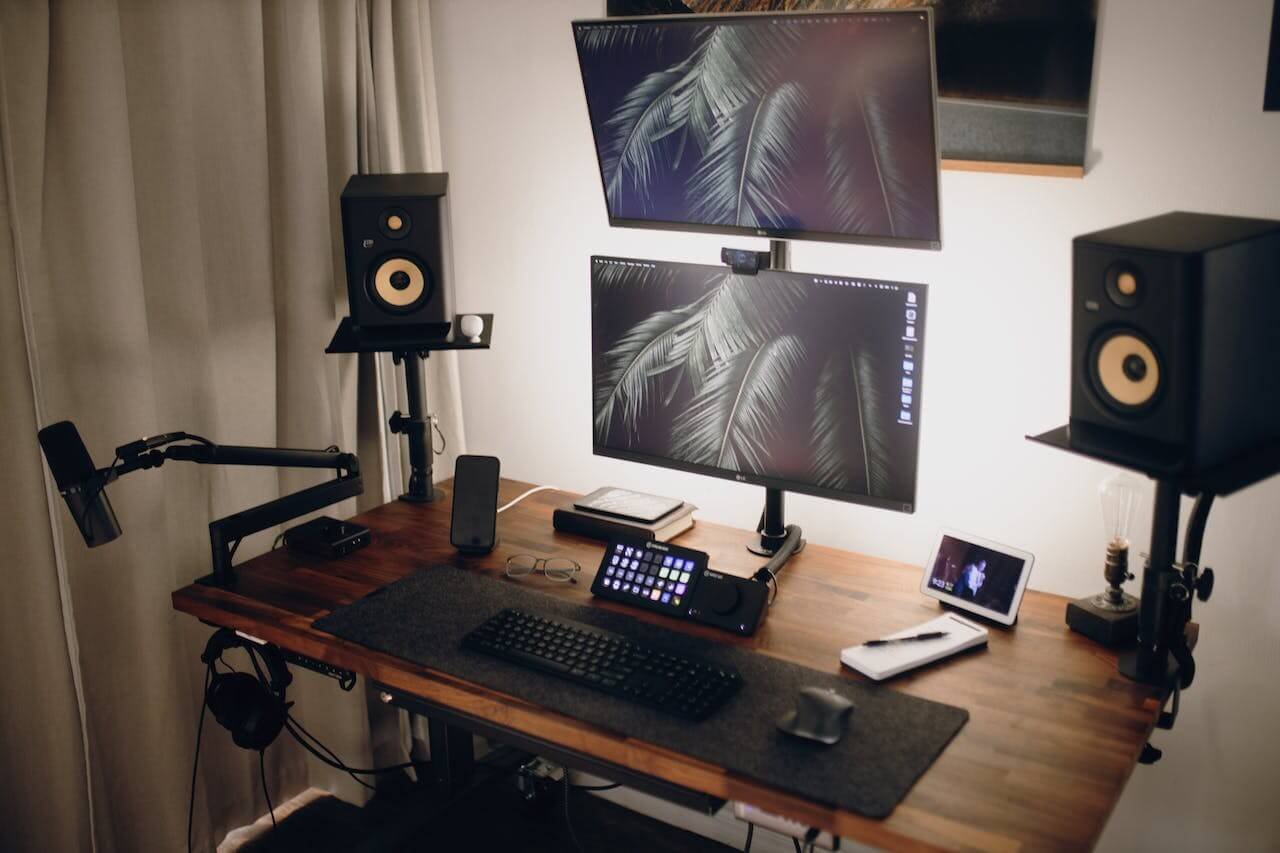
Building a gaming PC for the first time can seem intimidating but it is the only guaranteed method to ensure that your system can accommodate all of your unique preferences. You know you'll be able to play the games you want at the frame rates you want when you know everything that goes into your PC, from the power supply up to the processor. Furthermore, a home-built Gaming PC enables for future upgrades as technology evolves, your gaming preferences and demands change, or your budget allows.
Though assembling a PC may appear complicated, especially if this is your first time working inside the chassis, you may discover that it is simpler than you think. This detailed, step-by-step guide will bring you through the process of building your gaming PC, including lots of tips and techniques. With a little research and planning, it can be a fun and rewarding experience.
Following are the steps we are going to follow in this process:
-
Determine your budget.
-
Research components.
-
Choose a case.
-
Gather tools.
-
Assemble the PC.
-
Install the operating system.
-
Install drivers and software.
-
Test and troubleshoot.
Determine your budget:
The more sugar you add, the sweeter it will be!
Before you start building, it is important to know how much you can afford to spend. This will help you make decisions about the components you can afford to include in your build.
Research components:
Research is what I’m doing when I don't know what I'm doing.
Take the time to research and compare different components, such as CPUs, GPUs, motherboards, RAM, and storage. You'll want to make sure that the components you choose are compatible with each other and that they meet your performance and budget requirements.
Choose a case:
Before you begin selecting components, you should have a case — or, at the very least, a case size — in mind. The major consideration when selecting a case is where you want to place the computer.
Location is crucial: The eventual location of your PC will decide how big you can (or cannot) go, as well as if other premium case features are worth the extra money. If the computer will be buried under your desk, for example, you probably don't want to spend for a tempered glass side panel.
Size matters: Full-tower, mid-tower, and mini-tower cases are the most common. These are relatively broad categories (case sizes vary by manufacturer), however, they are based on motherboard size.
Here are a few PC case suggestions for you.
Gather Tools:
You will need to obtain certain tools before you dive into your PC-building project. Preparing your tools, supplies, and work ahead of time will assist ensure a smooth build process.
Workspace: A big work area, such as a table, will be required. Make sure you're standing on an uncarpeted area to avoid an electrostatic discharge (which can harm sensitive components).
Screwdrivers: Almost everything will require a Phillips #2 screwdriver. A Phillips #0 screwdriver is also required when installing an M.2 device. Magnetic screwdrivers will keep screws from falling inside your case (the magnetic tip is very weak and should not affect your components).
Flash drive (USB): You will need an 8GB or bigger flash disk to create a bootable drive to install the Operating System of your choice.
Assemble the PC:
It's now time to assemble your components. This stage may be as hands-on or as hands-off as you want it to be; you can extensively research each component on your own and develop a unique build from the start, or you can discover a pre-made build online and modify it to fit your exact budget and demands. Here are a few things to consider after budget when you begin:
Compatibility: Make a construction list before making any purchases – all components must be compatible with one another.
System prerequisites: If you're creating this PC to play a certain game, look into the recommended system requirements for that game and prepare accordingly.
The following components are required to create a gaming PC:
-
The central processing unit (CPU)
-
Graphics processing unit (GPU)
-
Memory (RAM)
-
Power supply unit (PSU)
-
Gaming peripherals
-
Operating system (OS)
The central processing unit (CPU)
The CPU is the brain of your PC, responsible for executing instructions necessary for applications to execute and dictating tasks to all other components. It influences all aspects of your experience, such as gaming, streaming, content production, and multitasking. When designing a gaming PC, selecting the correct CPU is critical.
When choosing a CPU for gaming, seek one with a high Max Turbo Frequency — the maximum clock speed it can attain utilizing Intel Turbo Boost technology — as well as a large number of cores and threads. Both indicators have the potential to have a major influence on performance.
Graphics processing unit (GPU)
Discrete graphics cards, such as an Nvidia RTX series, are huge, powerful components that connect to your PC's motherboard's PCIe x16 slot. The GPU, along with the CPU, has a direct impact on your in-game FPS and is a must-have for anybody looking to play demanding graphics-heavy games.
Nvidia RTX GPUs can also handle sophisticated rendering techniques such as ray tracing and XeSS upscaling, which upscales 1080p resolution to 4K and delivers high-fidelity graphics with seamless performance.
Learn more about Nvidia Graphics card specifications and prices in UAE.
When comparing GPUs for your build, look up benchmark scores online or the recommended system requirements for any forthcoming games you want to play and go from there.
Motherboard
The motherboard is the primary circuit board that connects everything. The CPU is physically mounted on the motherboard (your CPU and motherboard must be compatible – the Intel® Desktop Compatibility Tool can assist), and all other components — graphics cards, hard drives, memory, optical drives, and wireless cards — are integrated into the motherboard.
Shopping by size is one method to limit your motherboard options. Extended ATX, ATX, microATX, and Mini-ITX are the most prevalent form factors.
-
Extended ATX motherboards are the most spacious (12 by 13 inches or 12 by 10.1 inches) and frequently contain eight RAM slots (for up to 128GB of RAM).
-
ATX motherboards are just somewhat smaller (12 by 9.6 inches) and often include four RAM slots.
-
MicroATX (9.6 by 9.6 inch) motherboards can additionally feature up to four RAM slots.
-
Mini-ITX motherboards feature the smallest form size (6.7 by 6.7 inches) and often contain two RAM slots.
Because all of the components plug into the motherboard, it's critical to select one that's large enough to accommodate both present and future electronics.
Size is not the only consideration. Your motherboard must be compatible with the components you will attach to it, both for your present setup and any future hardware updates. (The Intel® Desktop Compatibility Tool might be of assistance.)
Newer motherboards offer the benefit of supporting cutting-edge technology and standards.
Here are some of the latest motherboards for gaming PCs
Memory (RAM)
The finest RAM kit for your money depends on the platform you choose and the sort of workloads you expect to run, whether you're constructing a new gaming PC or replacing an existing system that was once one of the top gaming PCs but now struggles to handle today's games. Every current desktop PC uses DDR4 or DDR5 RAM and recently supports the DDR4-2133 data rate. That was the easy part.
When selecting the greatest RAM, the difficult aspect is determining whether quicker memory impacts your system. Most programs, for example, will not respond meaningfully to faster or slower system memory if you're running an Intel system with one of the finest graphics cards. Some workloads, such as games and software, will, on the other hand, scale well with larger data rates.
A few RAM suggestions with specifications are here.
Storage
As the new games have a large amount of data storage needs so having a SSD hard drive is one of the best choices for your gaming PC.
Install the operating system.
Once your PC is assembled, you'll need to install an operating system, such as Windows, Linux, or MacOS.
Install drivers and software.
Install any necessary drivers and software for your components, such as graphics card drivers and motherboard drivers.
Test and troubleshoot.
Once your PC is built and set up, test it to make sure everything is working properly. If you encounter any problems, you can troubleshoot and make adjustments as needed.
It's worth noting that building a gaming PC can be a complex process, and if you're not comfortable with handling delicate electronic components, it might be best to consult a professional.


